Oreo Cookie - SKS Style

The time has come! When I tell that every week I get a DM about this cookie… people have fallen in love with it!
I developed this cookie at the end of 2019 when I got ahold of some black cocoa (More on this later). My sister is obsessed with a certain cookie chain in Utah (*coughCrumblcough*) and she tasked me with creating a version of that from scratch. I remember calling her on the phone and having her describe the cookie to me. She said it was overly sweet and soft and had a delicious vanilla frosting on top… HMMMM. I can do better than that!
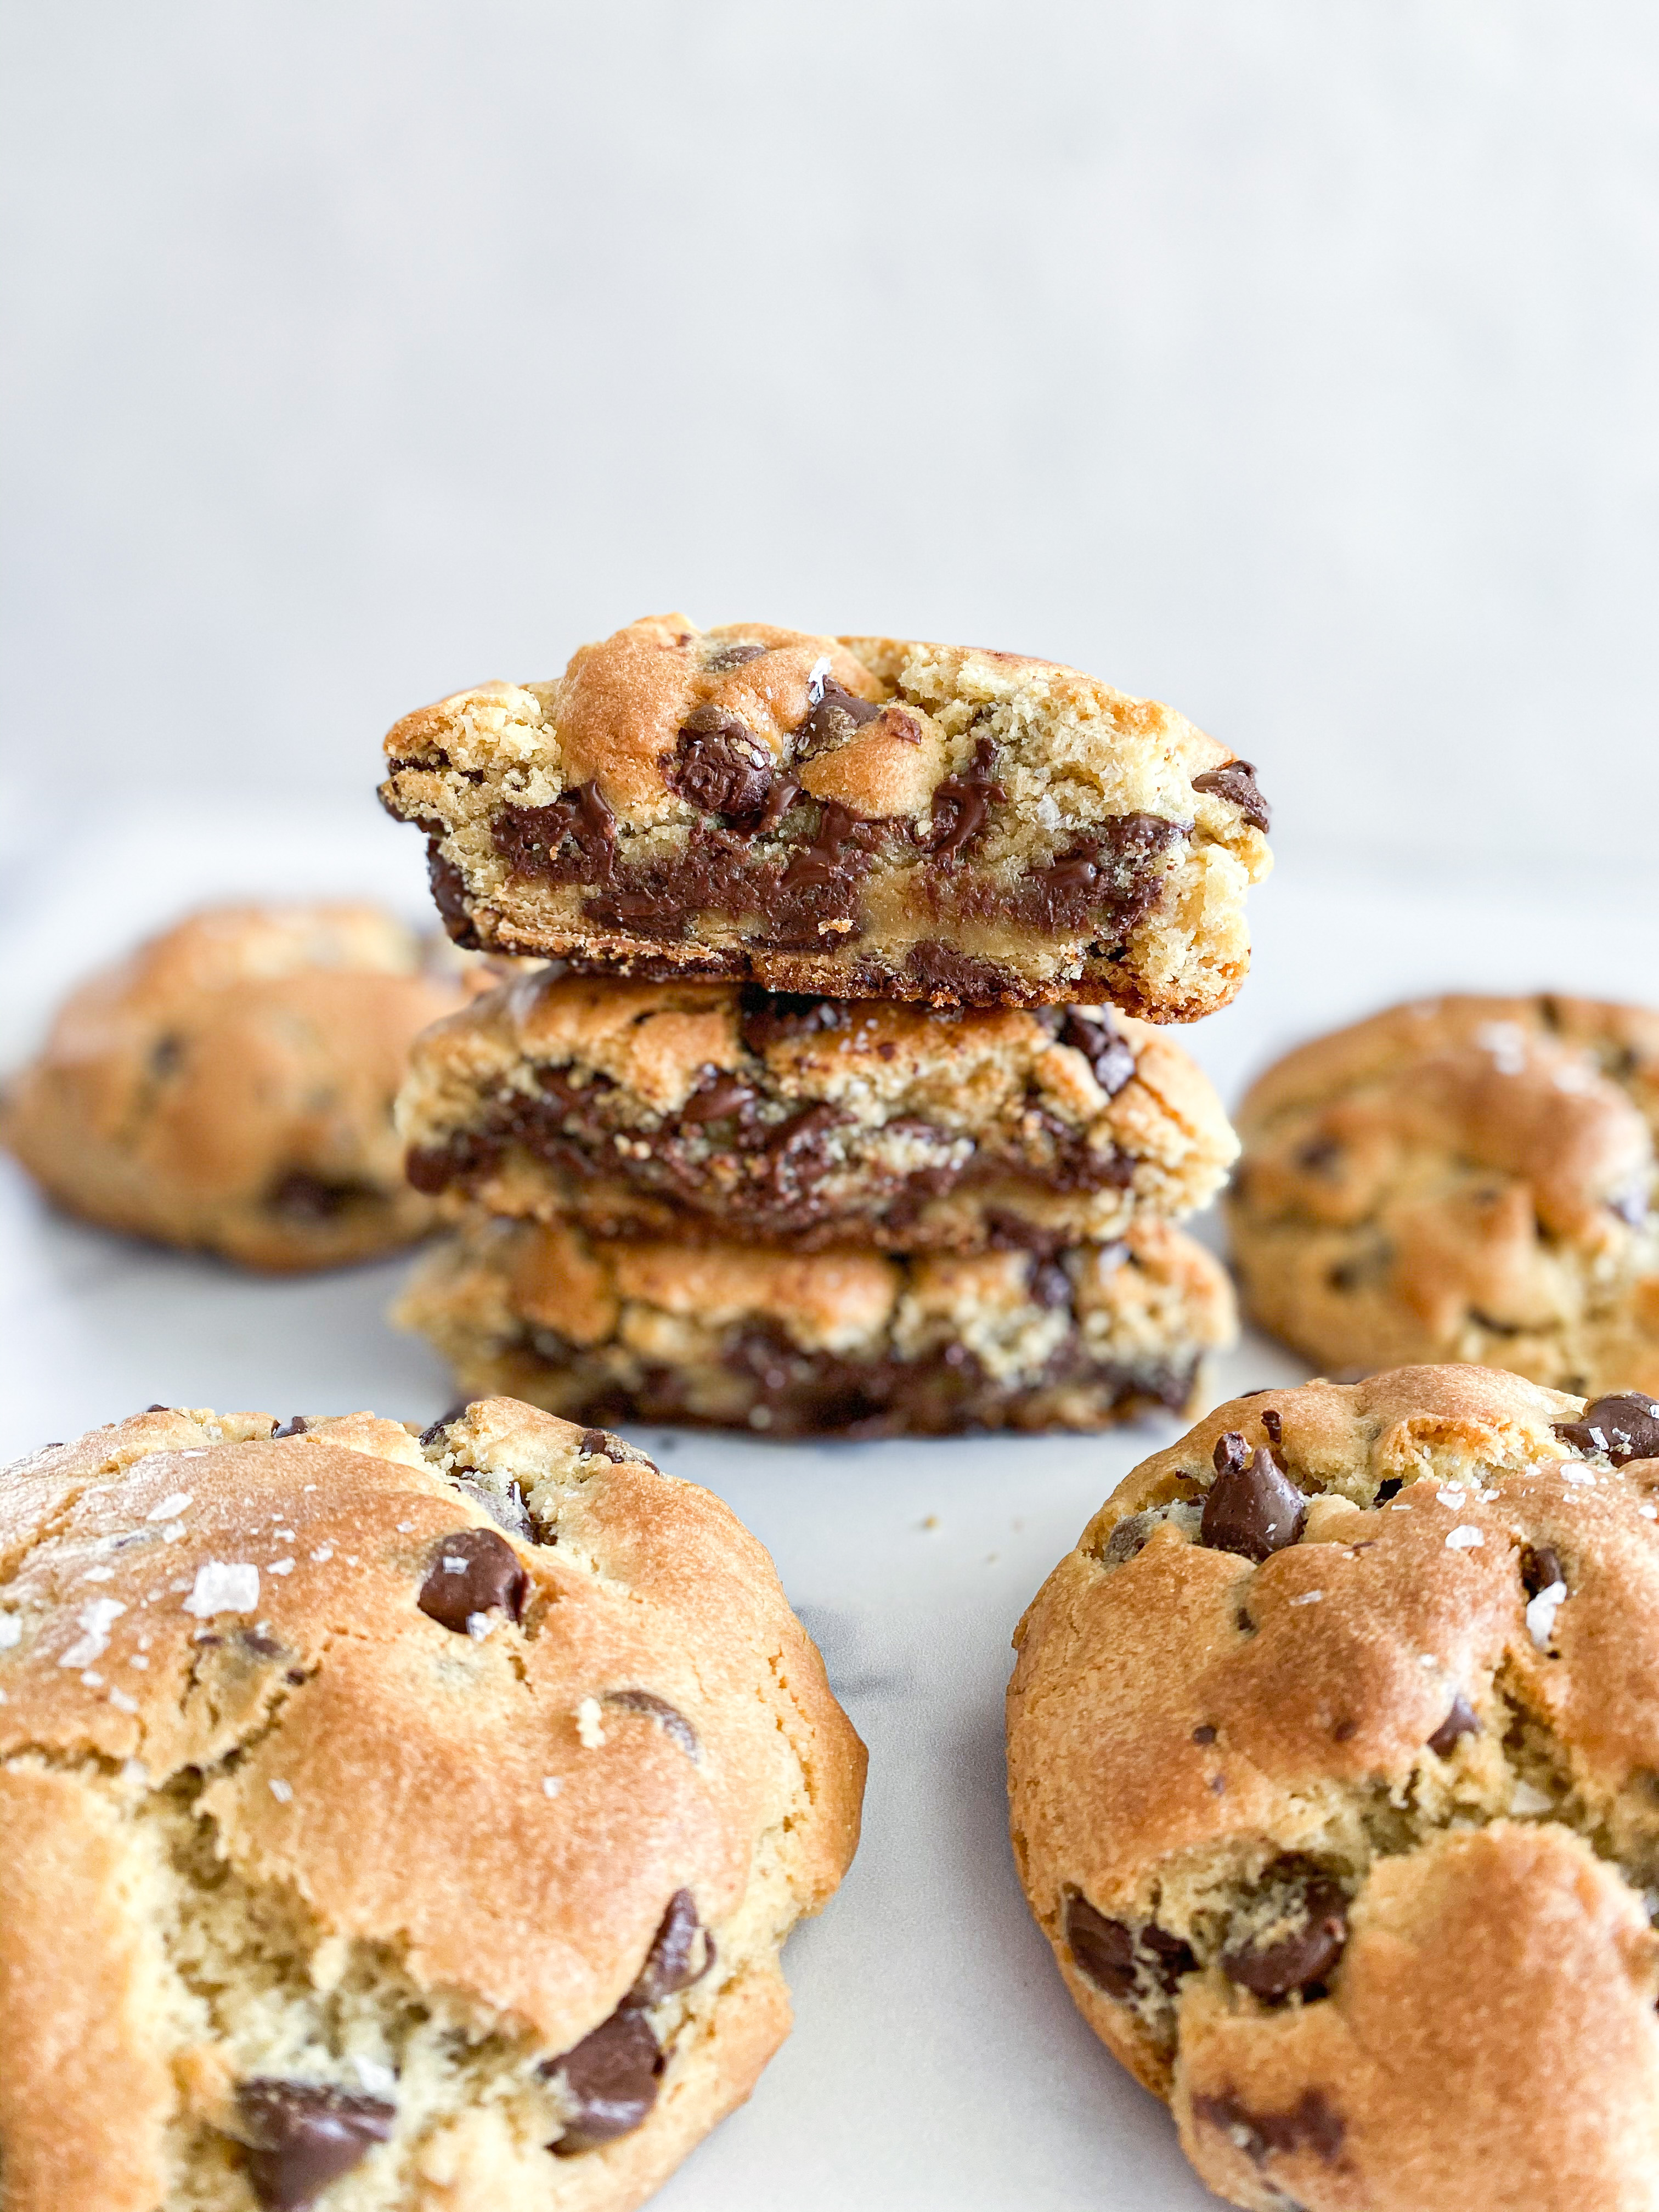
Sweet just isn’t my thing. I believe in eating the entire cookie: none of this nonsense about having one bite and having to put the rest down…. NOPE. I really try my best to balance the salt and sweet in my cookie recipes. This Oreo is no exception. It starts with a base that is very similar to other SKS cookies. We combine our shortening and sugars together in a typical way and cream it together for a while. In comes the star of the show…..


Black Cocoa - A non-negotiable
Black cocoa is truly the key to getting the Oreo taste. It’s easy to find these days (order some here from Orson Gygi) and really brings these to Oreo level. You have that beautiful black color and a deep chocolate-y flavor. It is a wonderful combination and I recommend getting the black cocoa…. It’s worth waiting for! Don’t ruin it with regular cocoa.
Why you need these cookies
This version of your favorite chocolate sandwich cookie has the flavor you are wanting, with a soft and chewy twist! Add in some cream cheese frosting and I am ON BOARD!
Tips for Baking the Best Oreo Cookies
Here are some other tips that’ll help you bake the SKS Oreo cookie from scratch that taste as great as they look:


Use that scale!! For the most accurate recipe possible, you definitely should invest in a scale. They are super inexpensive and so useful in the kitchen. Here is a link to my favorite one. Oxo is my fave for most kitchen tools (I’ve worked in cookware for about 4 years haha so I know my stuff haha). This recipe was developed using a scale, so you will definitely get the best results using that. I try my best to convert the recipes to US measurements, but it won’t be as accurate as using my weight measurements. I use the America’s Test Kitchen Chart to convert my recipes.
Turn your oven on early. Did you know when your oven beeps to let you know it is done preheating, that only means the spot nearest the thermometer is preheated? Turn your oven on 30-40 minutes before you start baking so your cookies can bake more evenly!
Cream like crazy. When I cream the shortening and sugars together, I let my mixer run for quite a while – usually 5-7 minutes. It really dissolves the sugar and gives me time to get all of my other ingredients measured out. For this recipe, add your Black Cocoa into the mixture after about 3 minutes or so and then continue to mix until you reach the 5-7 minute mark. This doesn’t have to be super exact, but get the cocoa in early so it can combine with everything really well.
Hot means hot! This recipe calls for HOT water – not warm water. The heat of the water helps the sugar dissolve into the shortening. I usually turn my faucet on for a full minute before it reaches the temperature needed. If your tap water doesn’t get screaming hot, use a kettle and boil a little water.
Mix REALLY well. After you add your baking soda, baking powder, and salt to the batter, be sure you mix them really well before adding the flour. This allows them to incorporate fully. I also mix the dough really thoroughly after I have added everything in. You don’t want pockets of shortening in there or the baked cookies will be wonky.
Shaping the cookies. I like to chill these cookies slightly. I portion out the dough and place into the freezer for about 10-15 minutes. This allows the dough to rest and firm up a bit. Once I am ready to bake, I roll the portioned dough into balls and place on the tray. Before placing in the oven, flatten the dough ball slightly. You want a nice flat cookie top so you can have lots of space for frosting!


Frosting Tips:
This frosting is quite simple, but here are a few things to remember:
Cream Cheese When I make this, I set my cream cheese out for about 30 minutes before starting. It should be soft, but not completely. Cream Cheese frosting can be quite runny, especially when you pipe it, so throw it into the freezer for about 10 minutes or so if it appears to be runny.
Decorating When it comes time to decorate the cookies, I like to use a disposable piping back with a large round tip (Ateco 805 or 806 is great). If you don’t have any piping tips, just cut a large hole in a Ziploc bag and you should be good. I usually pipe swirls because it’s a pretty shape, but the world is your Oreo, so go to town!
Crumbles on Top The crumbles I add to the top really vary, depending on my mood or what I have on hand. If you have Oreo cookies, whack some in a bag and crush until you have a nice crumbly texture. If not you can also make tiny cookies using some dough scraps and bake them along with th rest of the cookies. When they are out of the oven and cooled, throw those in a back and crust them up! Either way, a nice little crumble on top is fun! This could also be a place to add sprinkles, if that is your thing. Go to town!


Oreo Cookie - SKS Style
Ingredients
- 200 g / 1 cup vegetable shortening
- 200 g / 1 cup brown sugar
- 200 g / 1 cup white sugar
- 75 g / 2/3 cup Black Cocoa Powder
- 100 g / 1/2 cup hot water
- 2 tsp vanilla extract
- 3 eggs
- 2 tsp baking soda
- 1 tsp kosher salt
- 600 g / 4 1/4 cups flour
- Cookie crumbs/sprinkles/candy for decoration (optional)
- 226 g / 2 sticks unsalted butter (slightly cold)
- 2 8oz packages cream cheese (slightly cold)
- 700 g / ~6 cups powdered Sugar
- 2 tsp vanilla extract
- 2 tsp kosher salt
Instructions
- Preheat oven to 350 degrees Fahrenheit.
- Using a stand mixer fitted with a paddle attachment or a hand mixer, cream shortening and sugars together on medium-high speed for 5-7 minutes. The mixture will be light and fluffy and the sugar should be mostly dissolved. Add black cocoa powder and mix again to combine. Add hot water and extracts. Mix thoroughly.
- Add eggs one at a time. Once mixed, add baking soda and salt. Mix thoroughly.
- With the mixer off, add all of the flour. Pulse the mixer to incorporate. Then let the mixer run on medium-high speed for about 60-90 seconds to ensure the dough has fully come together. Turn mixer off.
- Portion out large scoops of dough (I use a 3 oz portion scoop). Place the balls of dough on a sheet tray and let them chill in the freezer for at least 10 minutes. You will bake them right out of the freezer which helps them stay fluffy and not spread out too much!
- Bake for 12-14 minutes. (I usually rotate the pan halfway through baking.) The cookies will look slightly doughy, but don’t worry – they will continue to bake on the hot tray.
- Cool for 10 minutes or until firm, then remove cookies to a cooling rack.
- *For extra flair, use a round cookie cutter to scoot each Oreo cookie into a perfect circle IMMEDIATELY after taking them out of the oven.
- In the bowl of an electric mixer, fitted with the paddle attachment, add butter and cream cheese. Mix together for about 5 minutes, until light and fluffy.
- Add half of the powdered sugar (about 350 g) and mix for 1 minute. Scrape down the sides.
- Add remaining powdered sugar, salt, and vanilla extract. Mix for 1 minute.
- Switch to the whisk attachment and whip the frosting for 3-4 minutes.
- Place bowl of frosting into the fridge for about 20 minutes (it will be quite runny and you need to do this step in order to pipe it on to the cookies)
- Transfer frosting to a piping bag fitted with a large round tip. Pipe frosting on to cookie in either a round or zig zag pattern.
- Sprinkle cookie crumbs, sprinkles, or other candy on to the top.