NY Chocolate Chip Cookies
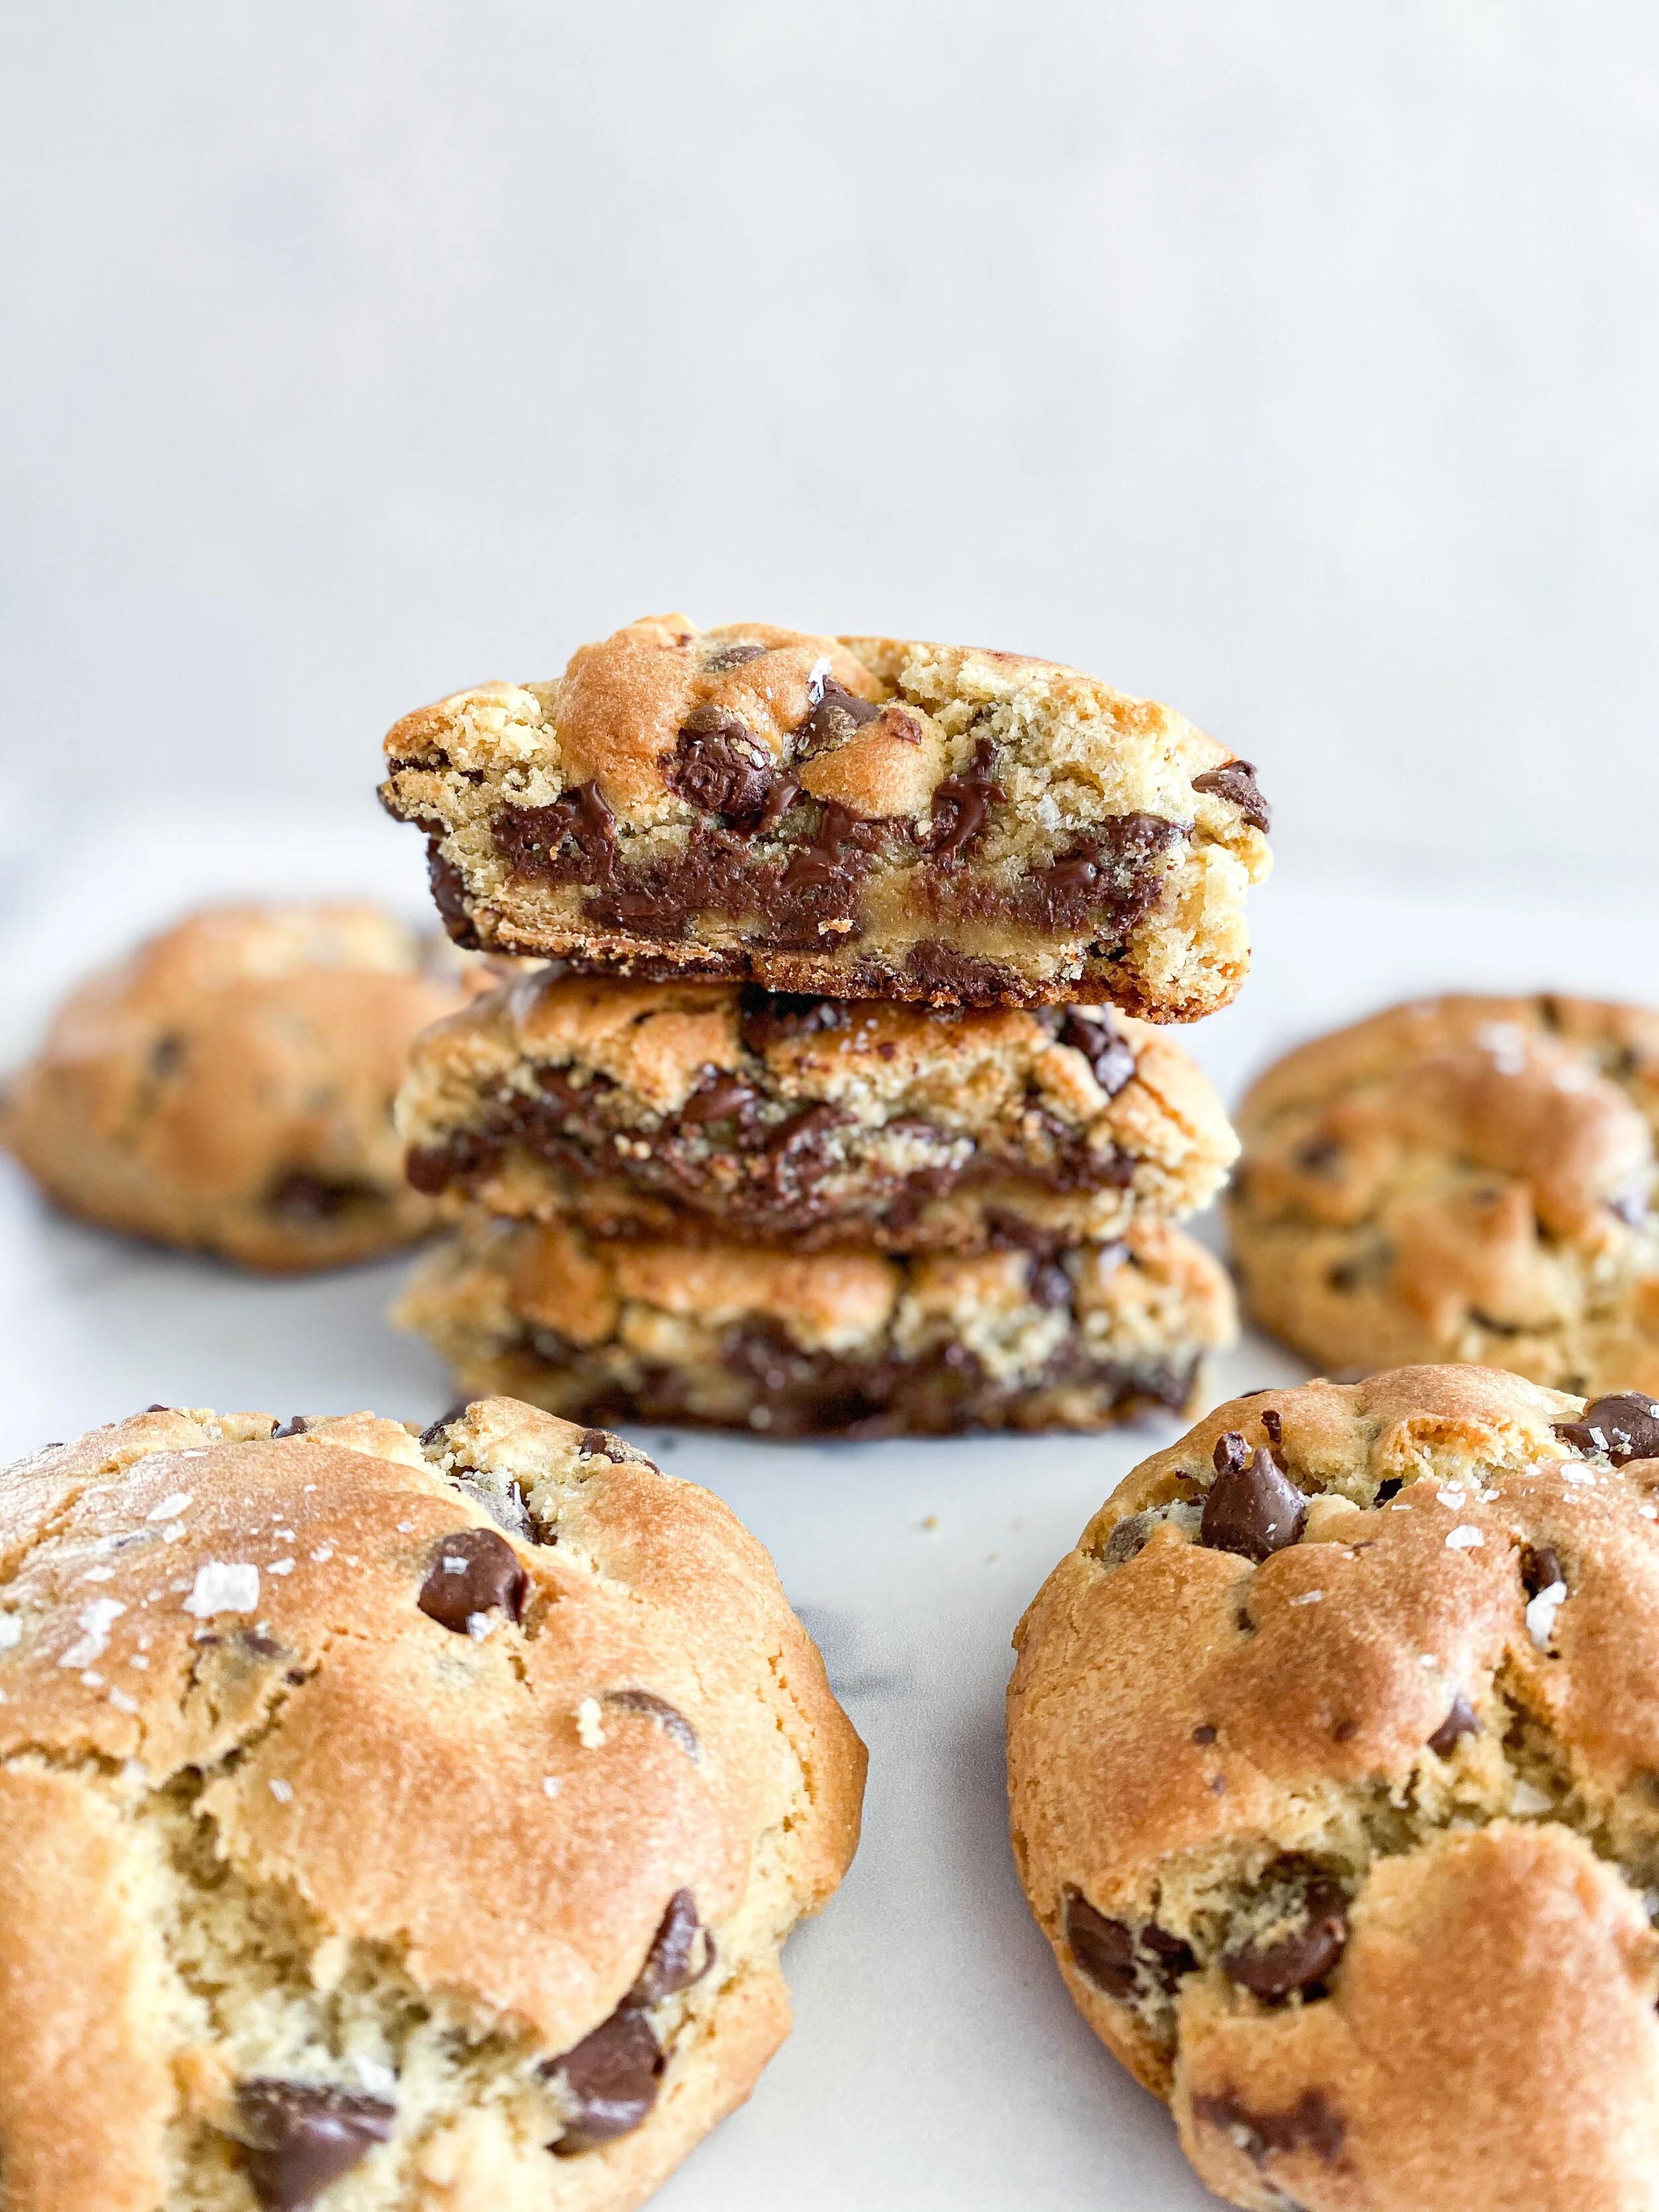
If you have lived in New York City or visited or have an Instagram account, you have probably encountered the famous Levain Cookie. It’s the perfect mixture of a doughy center and gooey chocolate chips. They kept it simple and that has WORKED for them.
It goes without saying that this cookie started a cultural revolution. Cookie shops started popping up on every single corner and they all tried to be the new Levain. Many places tried to copy them but none came close. The copycats were either too sweet or the wrong shape or not doughy enough. I set out on a mission to find a copycat recipe so I eat those delicious cookies at home (without paying the outrageous shipping fees).


Naturally I started by scouring the blogs to find a recipe that could stand up to the “Levain Challenge”. I tried several and decided none of them were exactly what I was looking for. Many were too sweet and if you are new to SKS, you should know that I am not a fan of things that are sickeningly sweet. I started an experiment to “Frankenstein” together some of my favorite parts in these recipes to create my own version. I literally feel like a mad scientist when I do this! It’s so fun. It took a couple of weeks to get it JUST right but I think we have it. Crunchy outsides with a gooey inside, packed with chocolate chips. The chocolate really is the star of the show. Get ready to live your Levain dreams from the comfort of your own home!

Tips for baking the best Levain Style NY Chocolate Chip Cookies
Here are some other tips that’ll help you bake yummy NY Cookies from scratch that taste as great as they look:
Use that scale!! For the most accurate recipe possible, you definitely should invest in a scale. They are super inexpensive and so useful in the kitchen. Here is a link to my favorite one. Oxo is my fave for most kitchen tools (I’ve worked in cookware for about 4 years haha so I know my stuff haha). This recipe was developed using a scale, so you will definitely get the best results using that. I try my best to convert the recipes to US measurements, but it won’t be as accurate as using my weight measurements. I use the America’s Test Kitchen Chart to convert my recipes.
Get your butter soft but still cold: Make sure you set your butter out for at least 30 minutes. You want it to be pretty cold, so don’t let it sit out all night long. You should be able to press it and see a slight indent.
Salt is your friend! I use kosher salt for all of my baking. If you don’t have that, don’t worry. Use table salt but use a little bit less (about 3/4 tsp). Also for the top I use Maldon Flaky Salt! It’s the best. It adds a perfect crunch. If you don’t have Maldon, you can use sea salt.
Don’t overmix: Only mix the sugars and butter together for 60 seconds. The dough will come together, but over-mixing at this stage messes with the texture of the finished product.
Gauge your flour: I created this recipe when I was living in NY so I used less flour. Then when I came to Utah (higher elevation) I found that the dough was too wet. Add in about 20 grams more of flour if the dough isn’t coming together into one large mass in the mixer. The flour helps the cookies not spread. You want these to be big mounds of dough. Also if you decide not to use the walnuts, add in a little extra, 40 grams or so. I would say 20 grams for the higher altitude/wetter dough and 40 grams if you don’t add the walnuts. It might take some experimenting to figure out what works best in your area!
Don’t skimp on the chocolate: It’s a lot of chocolate chips for a reason. You need to pack those cookies full so they stay nice and mounded! I even add extra sometimes. Try it with white chocolate chips or dark chocolate. So many options and so much CHOCOLATE. Also you probably will need to knead the chocolate chips into the dough. Help the dough have a fighting chance against all that yummy chocolate goodness.
Walnuts (or any other nut), if you like: Add in the walnuts if that is your thing. I am not on the nuts in cookies train, so I leave them out. My mother is obsessed with nuts in cookies so I have made these with walnuts, pecans, and almonds! GO NUTS with the nuts. Just make sure to adjust your flour (see the tip above about gauging your flour).
Shape your dough: When you are shaping the dough, make sure not to create perfect spheres. You just need to pack the dough together in a rough shape. And I mean rough. These helps create the nooks and crannies we love in from the original Levain version. I usually shoot for about 6oz (USE YOUR SCALE) and I pack them together with some gloves on it.
Freeze the dough: I know I know. Waiting is the hardest part. I have tried baking these without freezing the dough and it doesn’t work as well. Again, we want these to stay mounded while baking. So portion out all the dough, pop the tray in the freezer for a minimum of 30 minutes and then bake them, about 6 to a tray. This gives you time to clean up and pour yourself a diet coke (just me??). Also these are great to keep in the freezer for those midnight cookie cravings!

Any questions while you are baking? Something doesn’t make sense in the recipe? Leave a comment below or DM me on Instagram. I am new to the recipe writing so your feedback is helpful and welcome!


NY CHOCOLATE CHIP COOKIES
Ingredients:
- 226 grams / 2 sticks unsalted butter
- 150 grams / 3/4 cup light brown sugar
- 100 grams / 1/2 cup sugar
- 2 eggs
- 1 teaspoon baking powder
- 1 teaspoon baking soda
- 1 teaspoon salt + flaky salt for the top
- 420 - 480 grams / 3 - 3 1/3 cup All Purpose flour *see tips in post
- 360 grams / 2 cups semi sweet chocolate chips
- 180 grams / 1 (ish) cup walnut halves *optional
Instructions:
- Preheat oven to 400 F / 200 C and place a rack in the middle of the oven. Remove butter from fridge. Allow to sit at room temperature for 30 minutes.
- In the bowl of an electric mixer, add slightly softened butter and sugars together. Cream ingredients for 1 minute on high speed. Scrape down the sides of your mixer.
- With mixer on low speed, add eggs one at a time and mix until combined.
- Turn the mixer off and add the 420 g of the flour, baking powder, baking soda, and salt. Pulse the mixer until just mixed.
- Add chocolate chips and walnut halves if you are using them. If you decide not to add the walnuts, add more chocolate chips or add 40 grams of extra flour. If the chocolate chips don’t combine completely, knead the dough a slightly to incorporate.
- Divide dough into 8 pieces, about 6 oz. each. If making smaller, adjust baking time accordingly.
- Roughly shape each piece of dough into a ball. They should be rustic looking, do not flatten! Place each ball of dough onto a sheet tray and transfer to the freezer. Freeze for about 30-45 minutes. They should be quite firm. You will bake the cookies from frozen!
- Bake 6 cookies at a time for 13-15 minutes. Rotate the tray halfway through the bake . The cookies will be *quite* golden on the top and bottom but gooey on the inside. Don’t overbake, they will continue to cook on the tray.
- If you want to add flaky salt to the top, now is the time! Sprinkle over the top right when they come out of the oven!
- Let the cookies cool for 15 minutes before serving.

SPENCER LAWSON
I learned to bake in a kitchen the size of a postage stamp. 2 years later and I now love to share tips I learned about efficiency and organization that will make even the novice baker comfortable in the kitchen! Baking should be sweet (but not TOO sweet), fun, and accessible to everyone!